Onboarding with Okta
If you’d like to use Okta for user authentication, follow the steps in this guide but only after you’ve registered the FlakeHub GitHub app with your org and before you’ve signed up for a paid plan. You can only complete the actions in this guide if you are an admin of your FlakeHub organization.
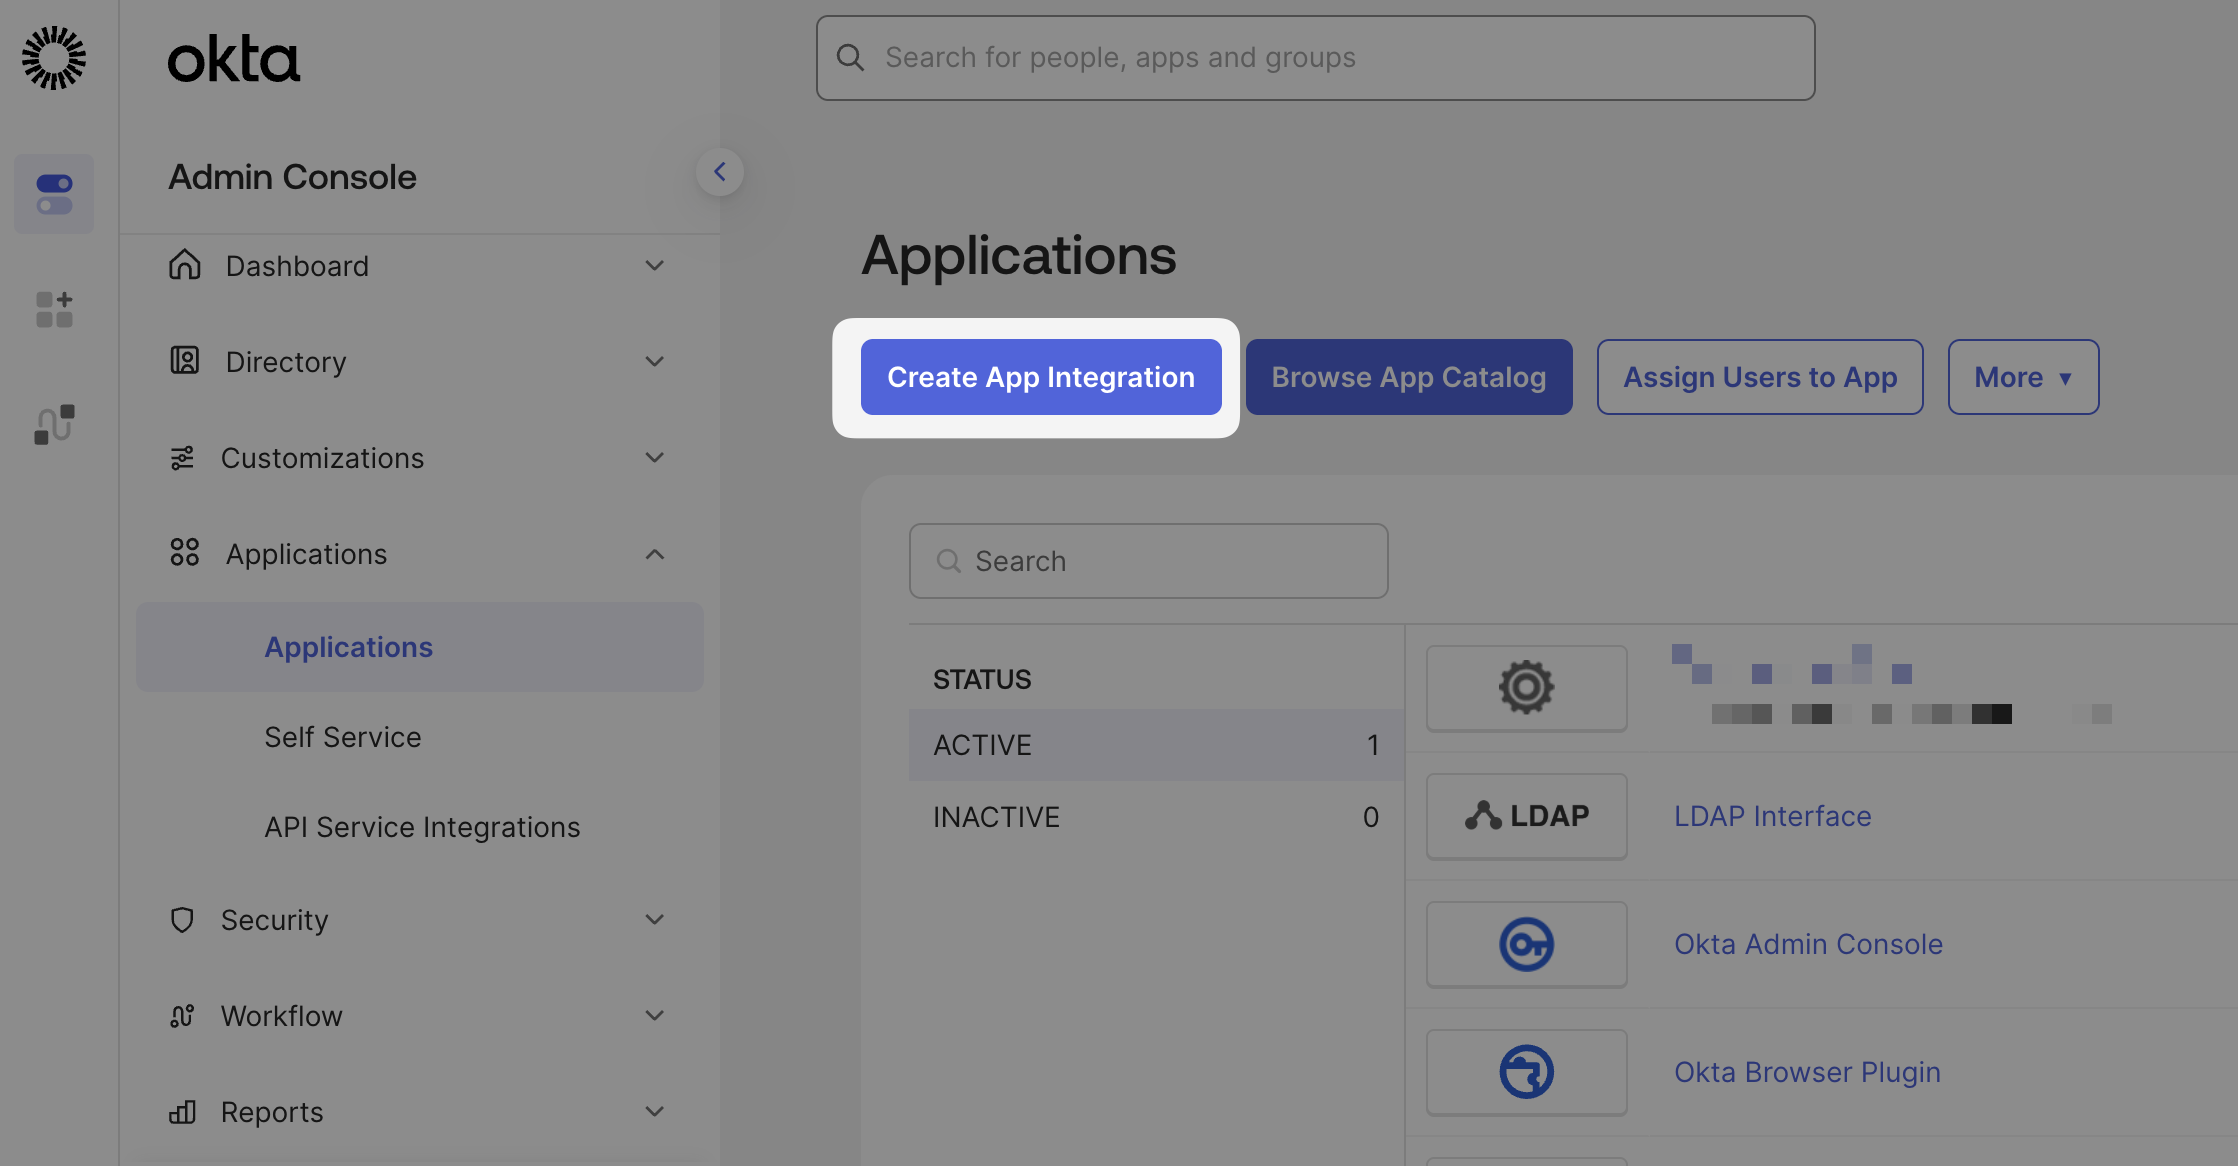
Configure an OIDC Application on Okta
Start by creating a new app integration in the Applications tab
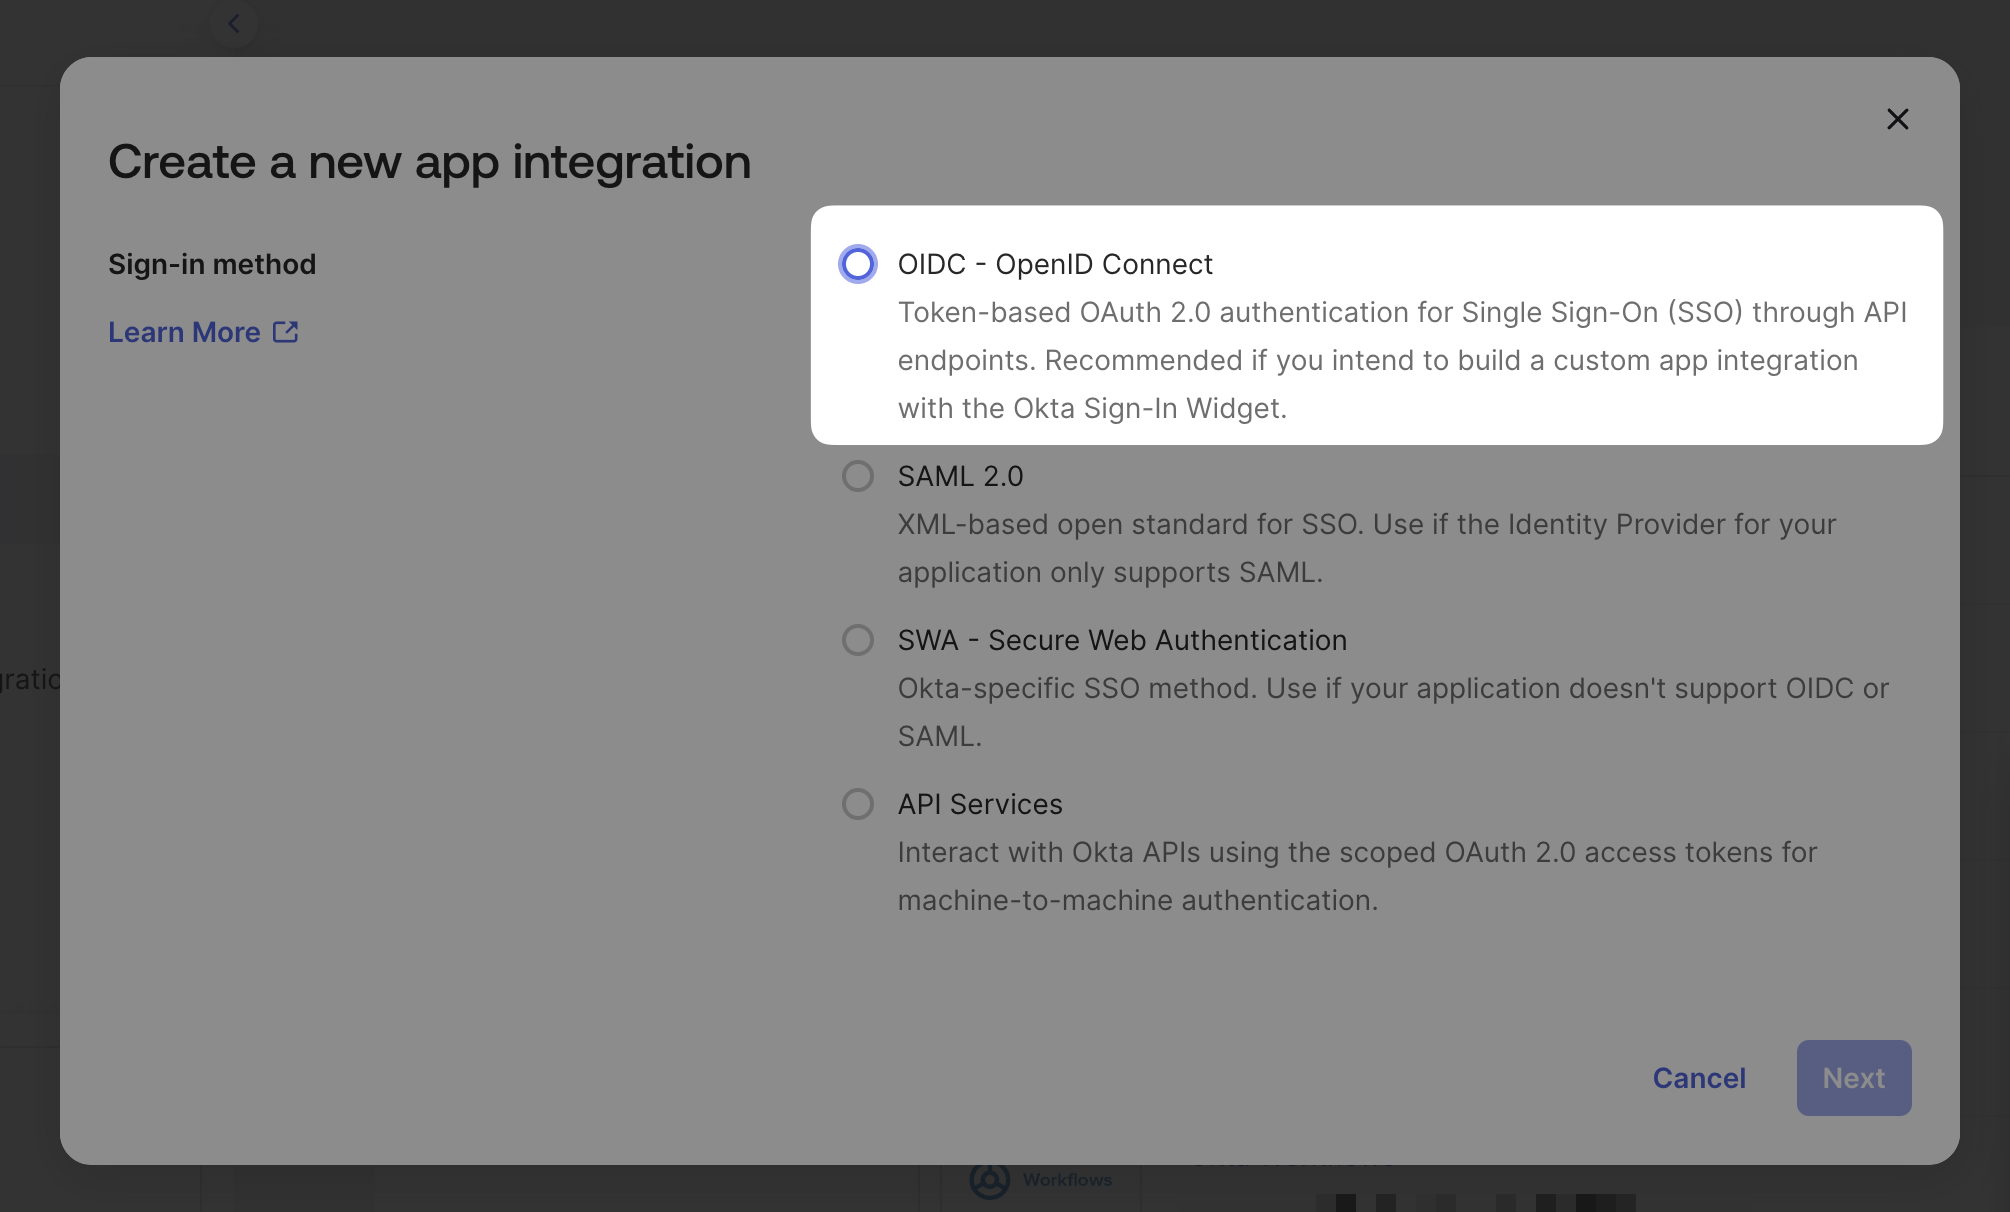
Select OIDC — OpenID Connect
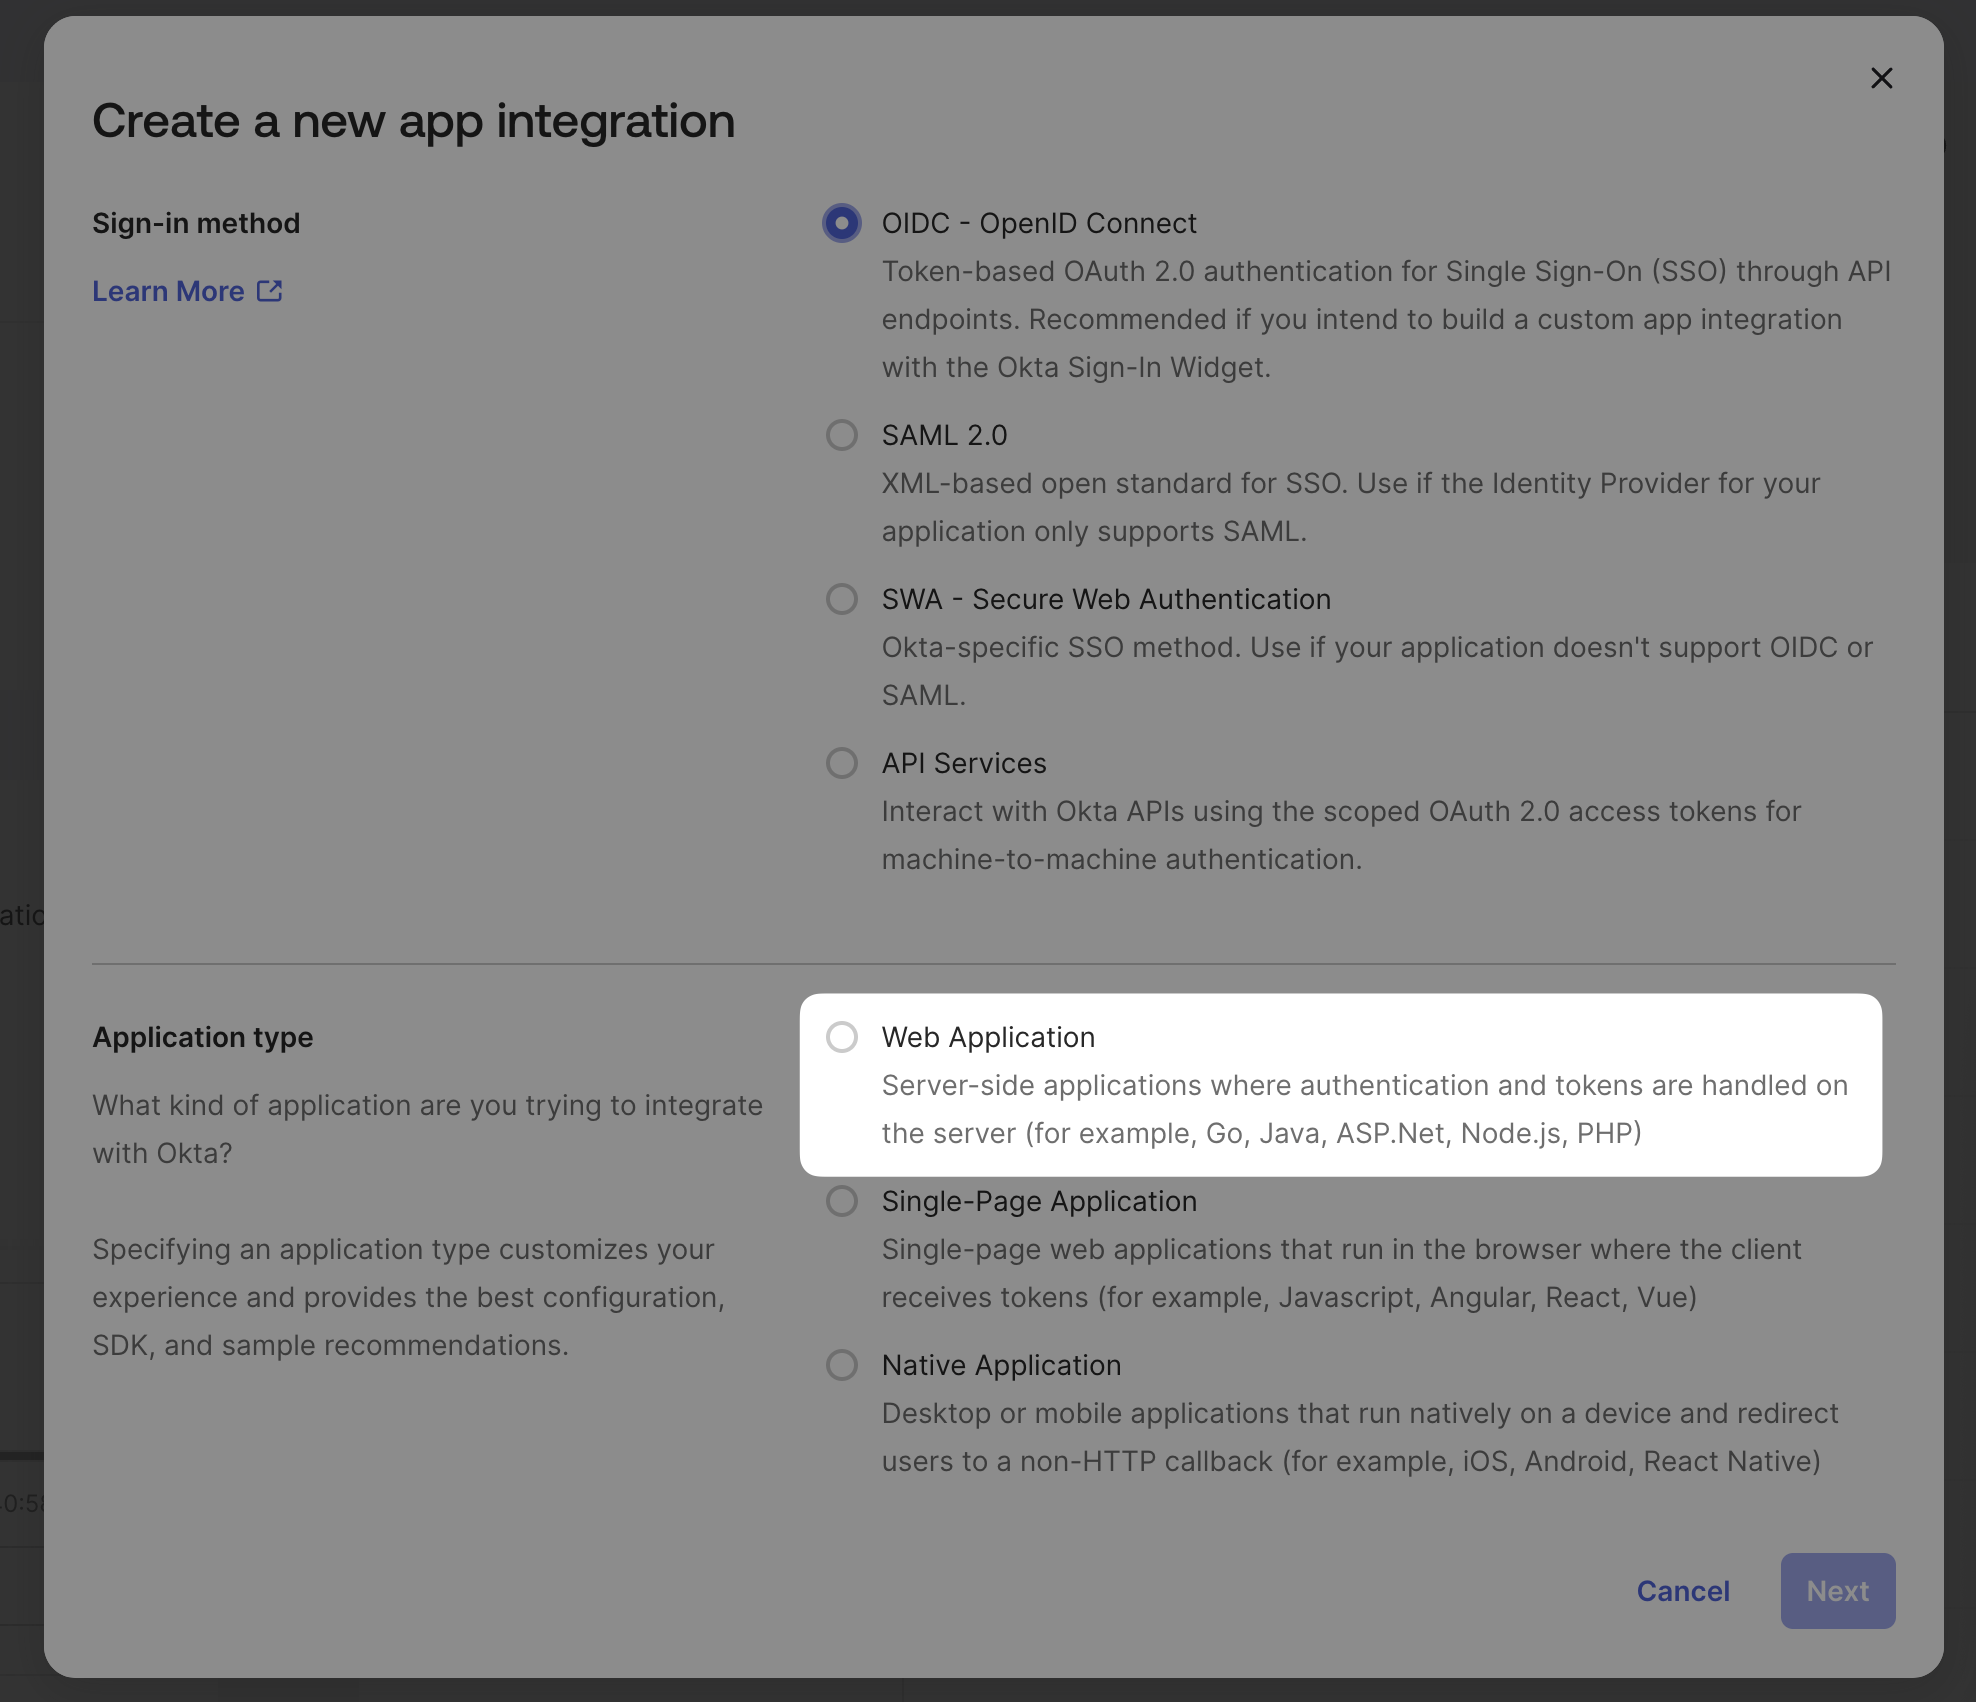
Select Web Application
Name the integration
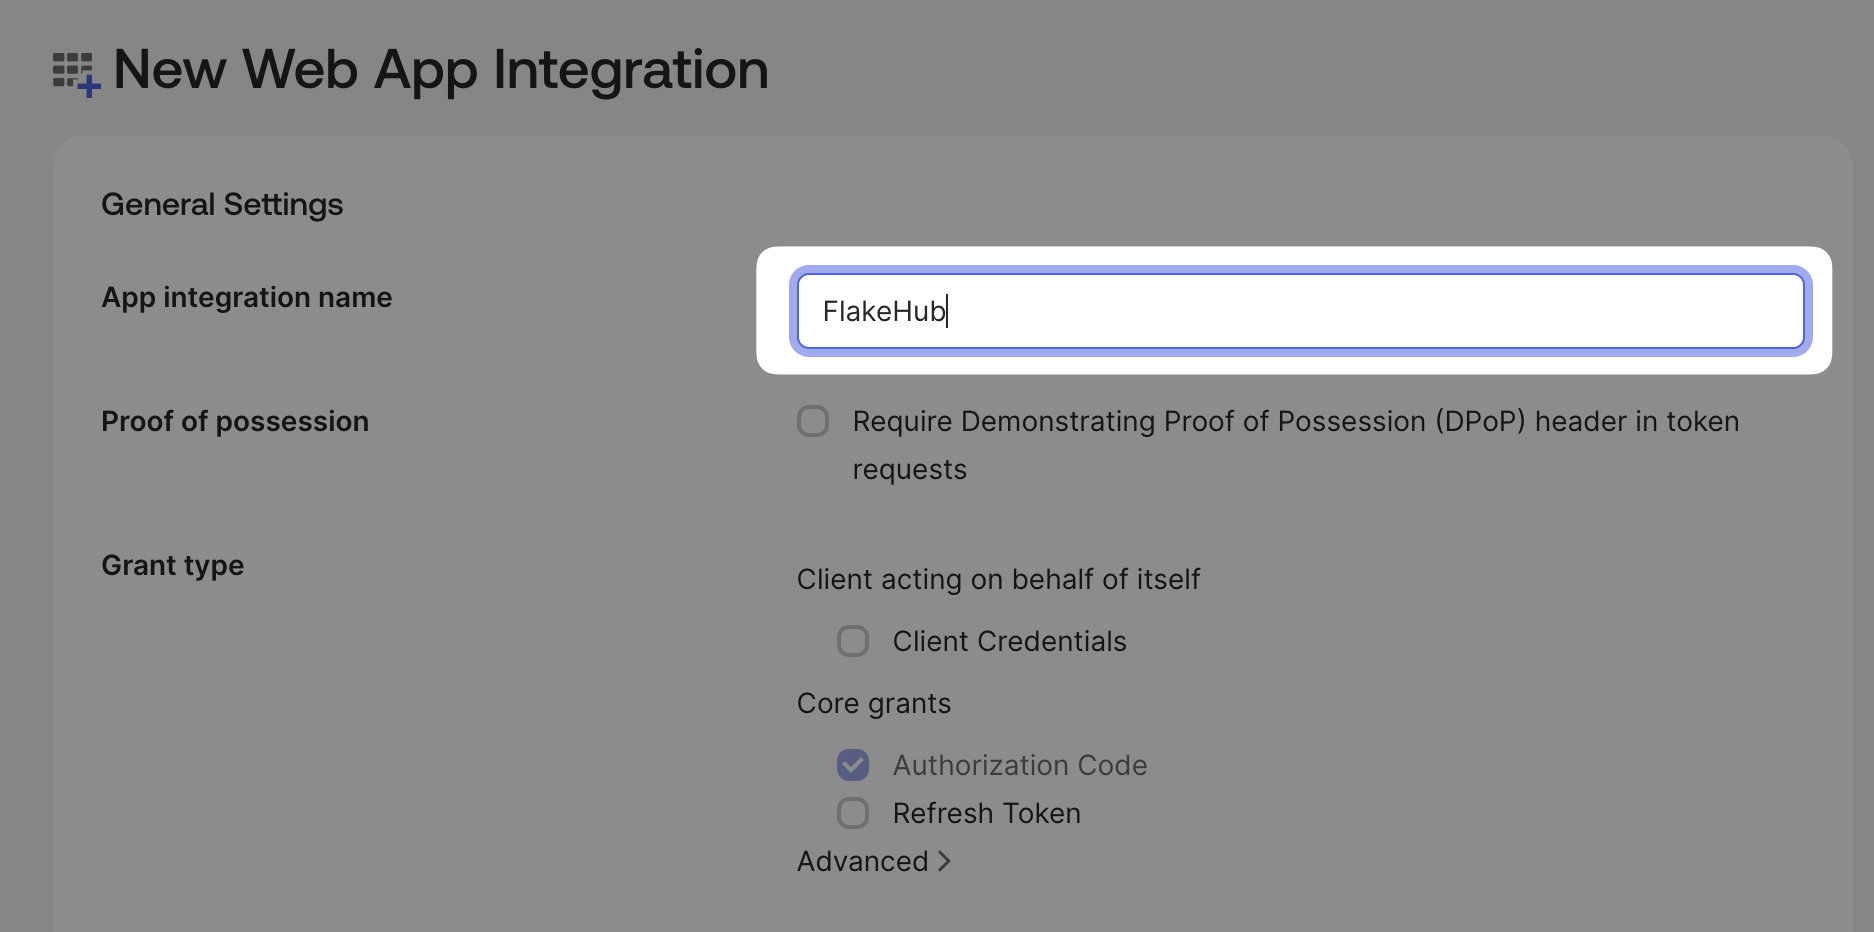
Set the application name to .
You don’t need to change the grant type, as the default is correct.
Set the sign-in URI
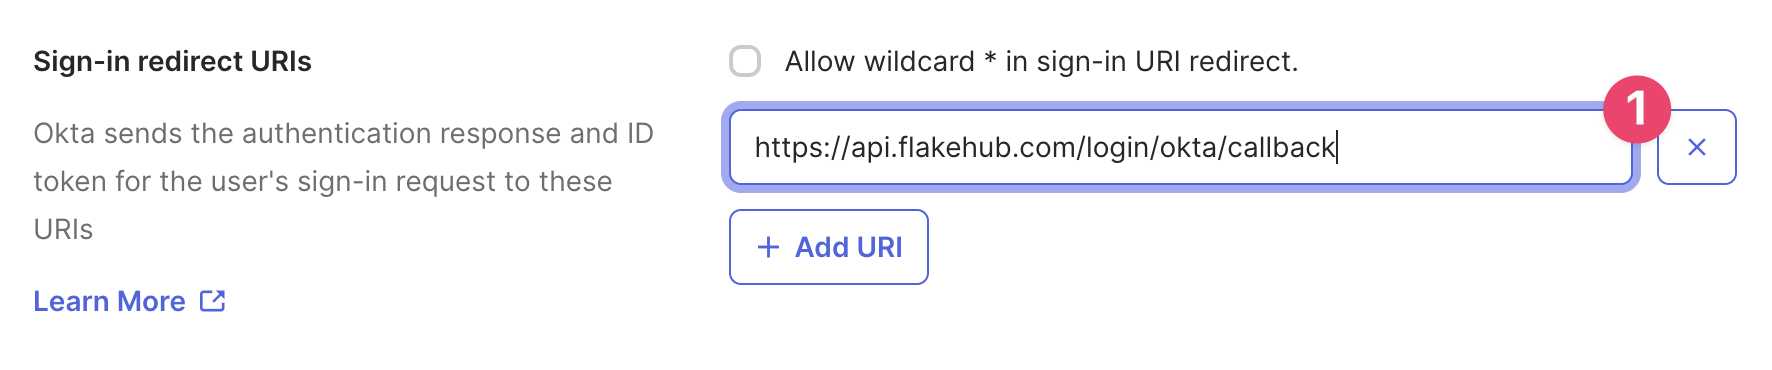
Set the URI to .
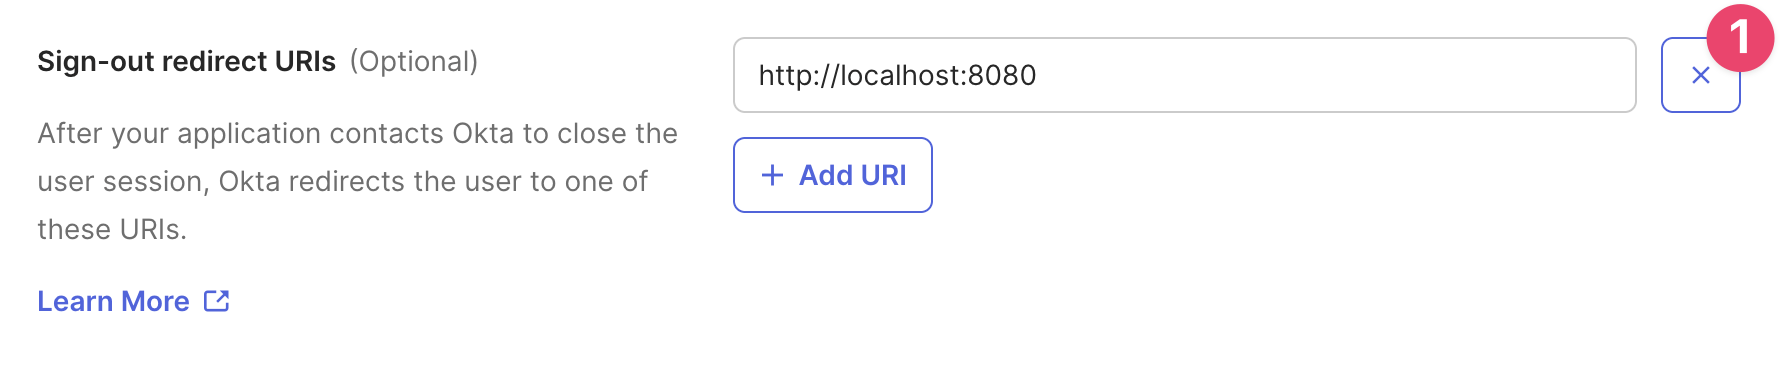
Delete the default URL from Sign-out redirect URIs
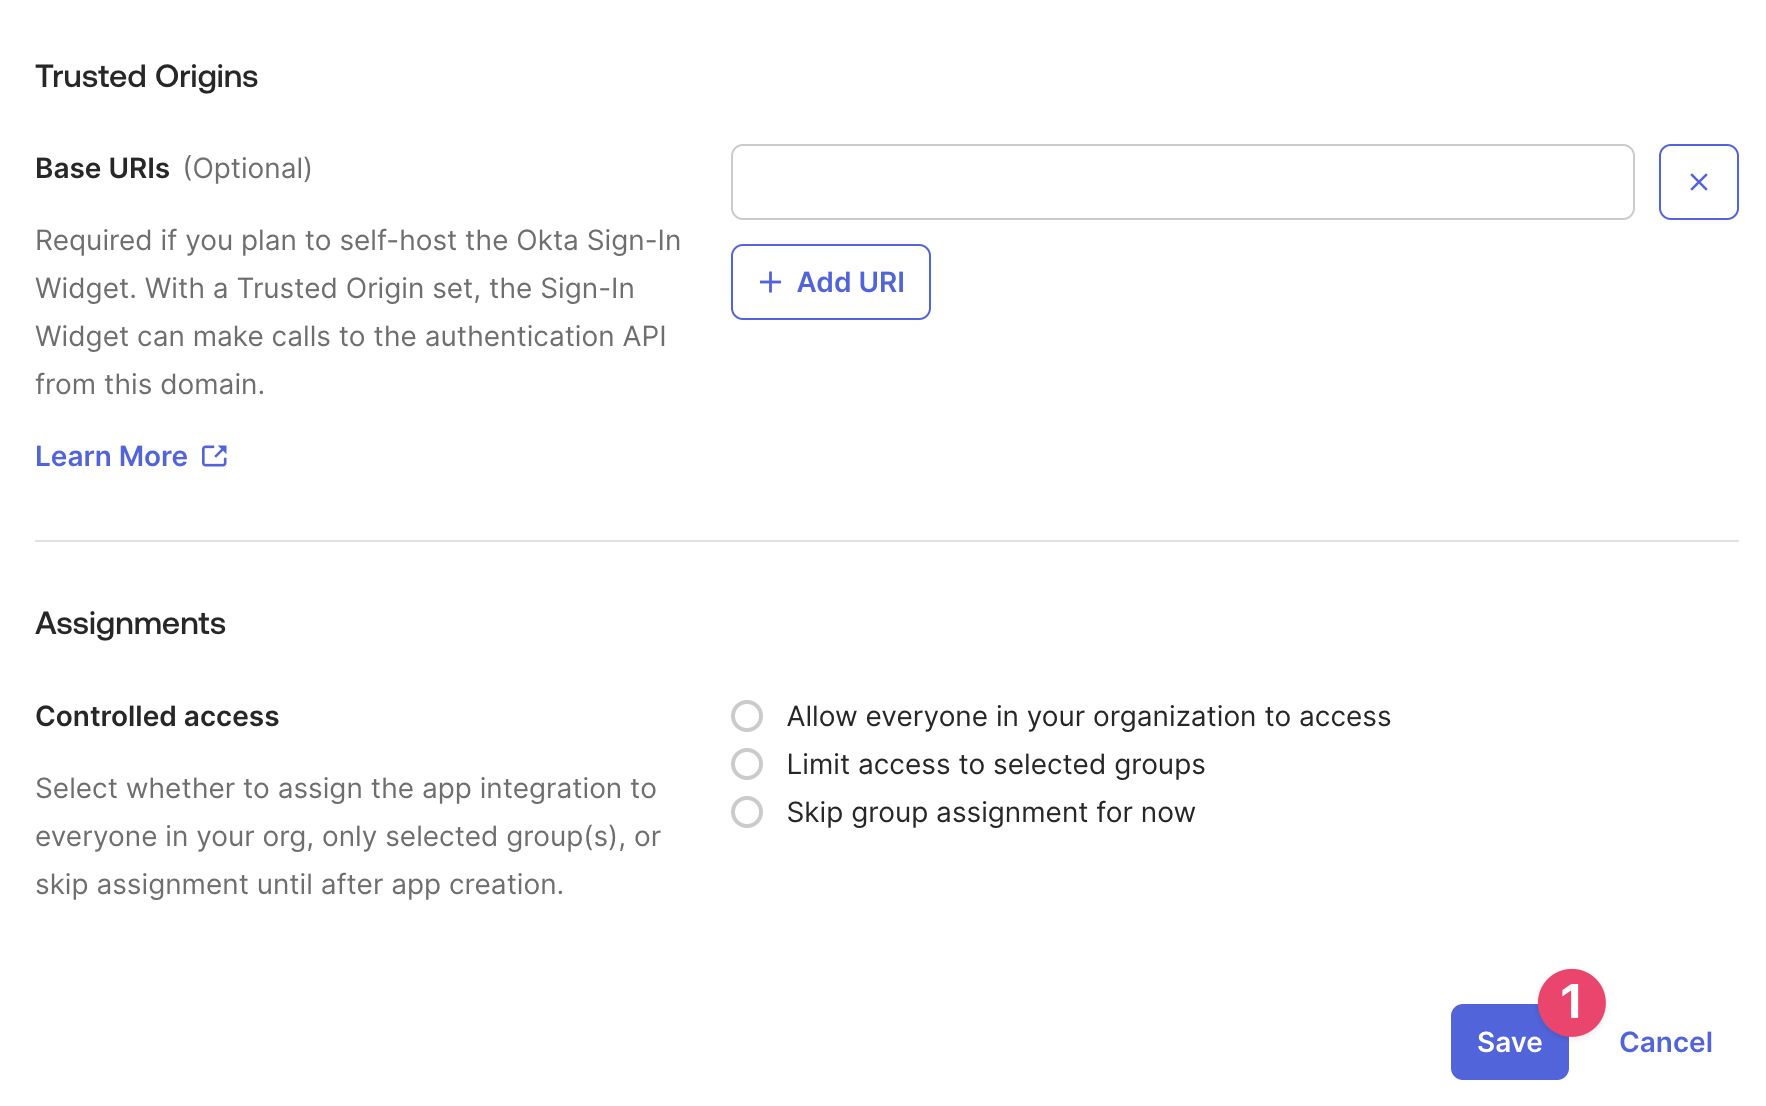
Finalize and save the initial configuration
- Do not configure the Trusted Origins section.
- Select and configure Assignments as required.
- Save.
Update the logo for the application
![]()
Click the app logo’s Edit icon and use this graphic:
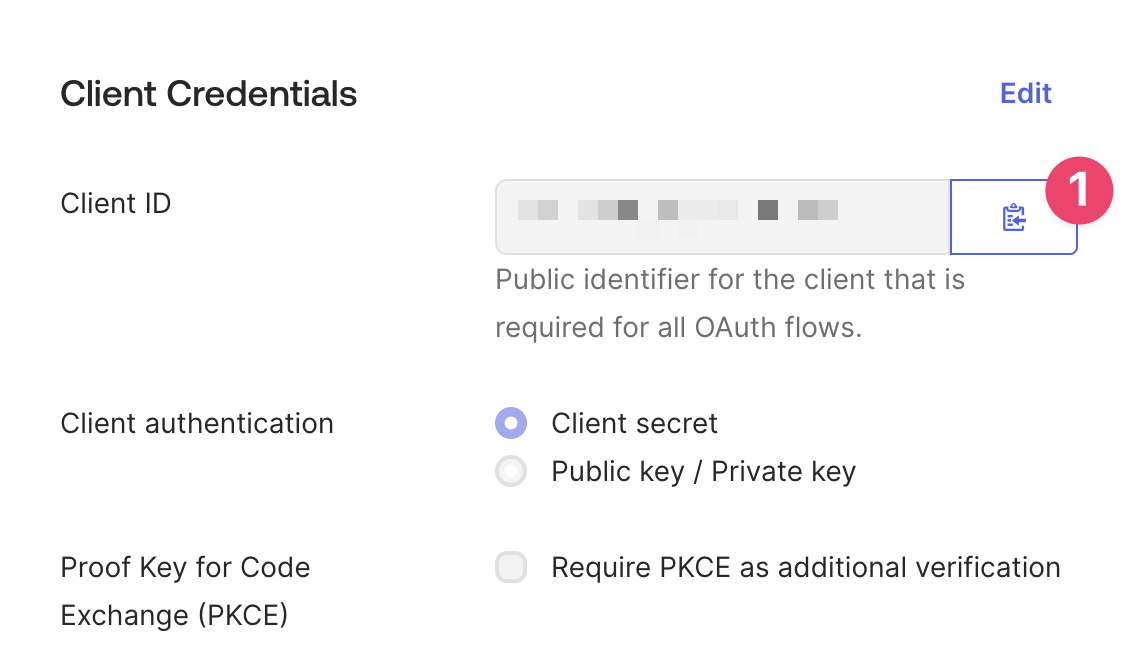
Click Edit for Client Credentials
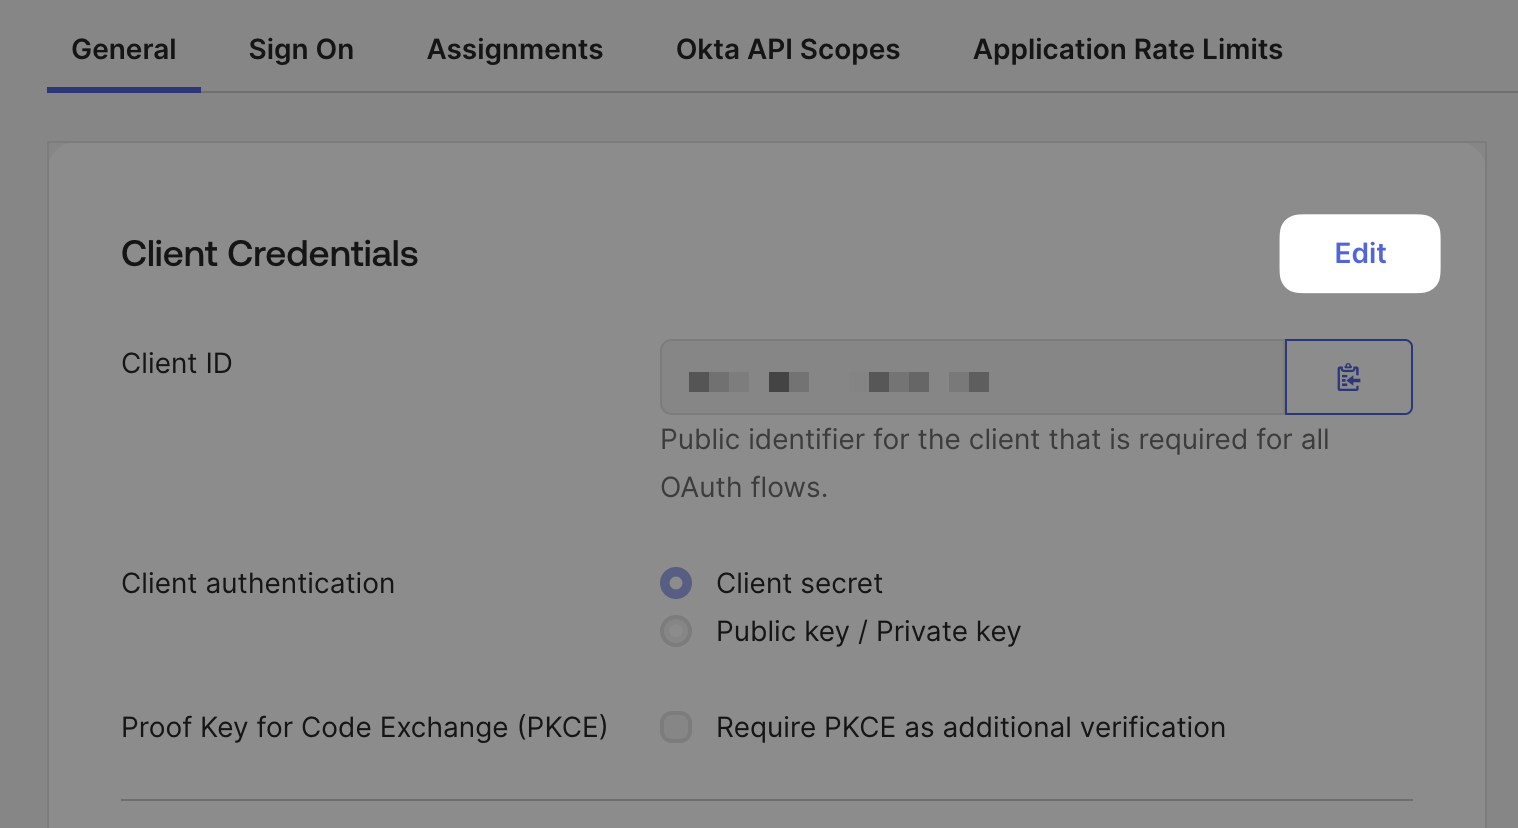
Enable PKCE and save
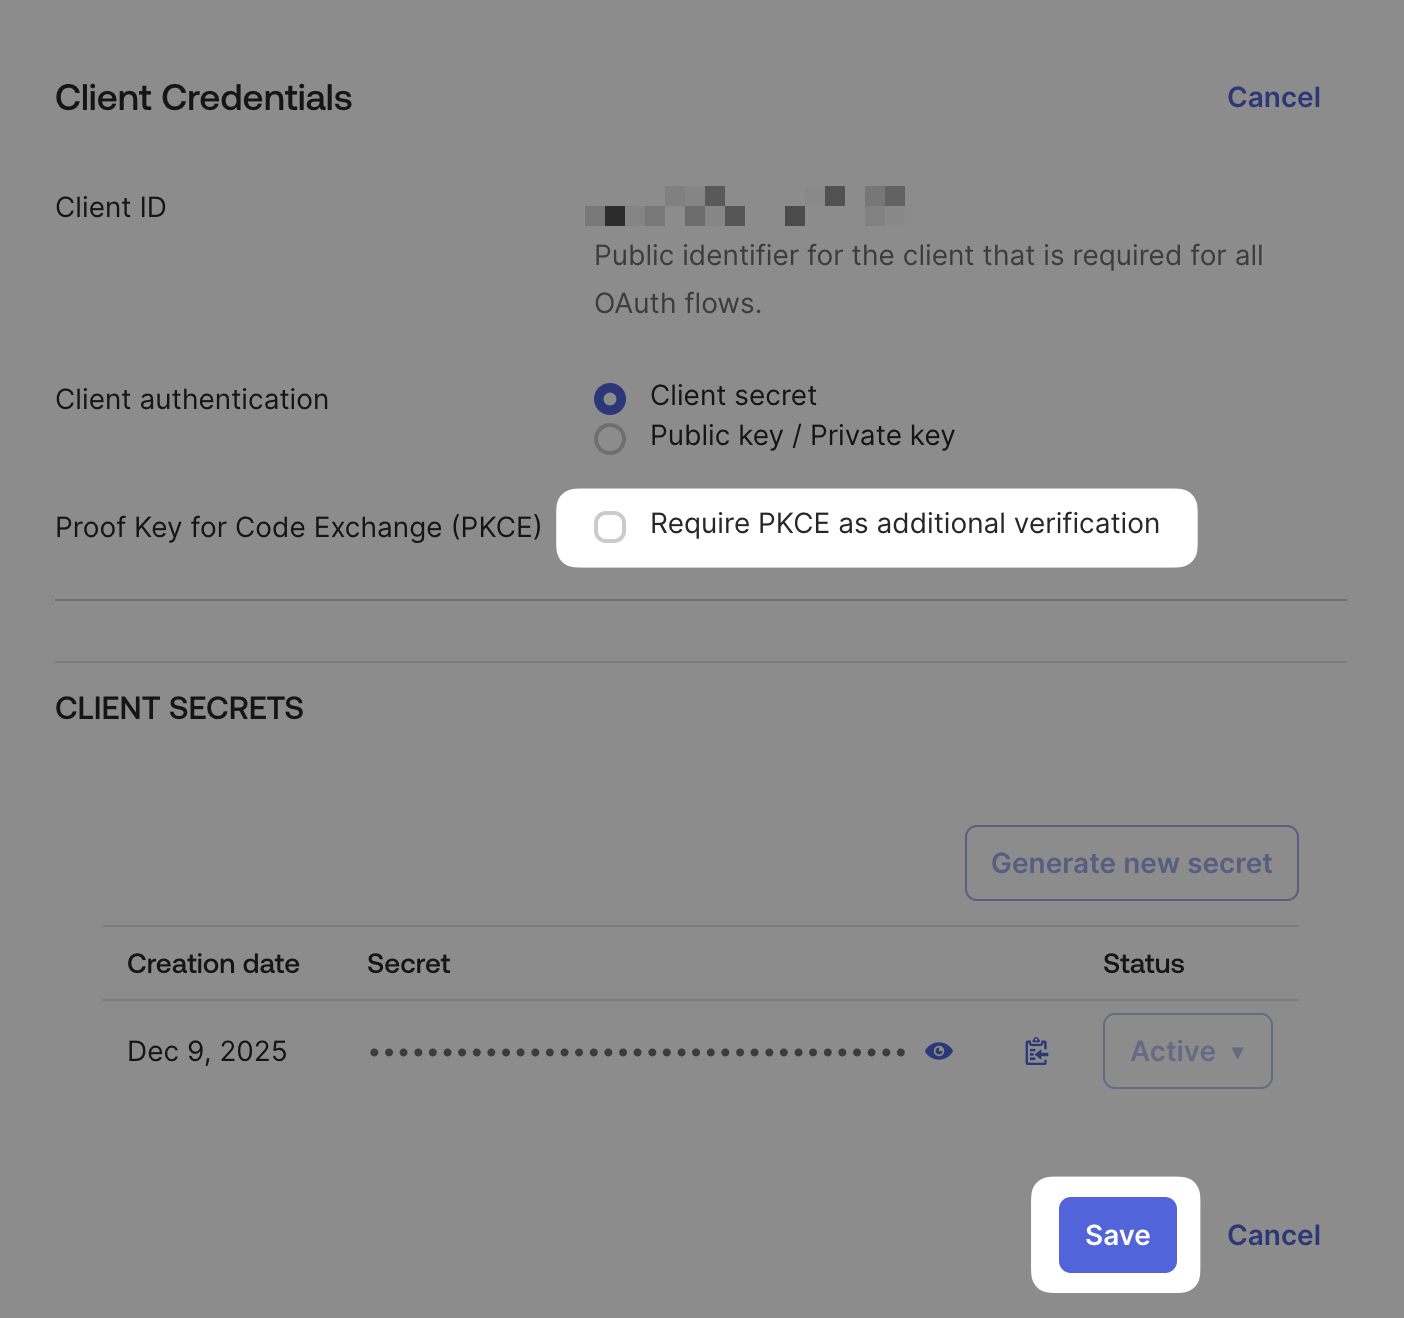
Tick Require PKCE as additional verification for Proof Key for Code Exchange (PKCE), then click Save.
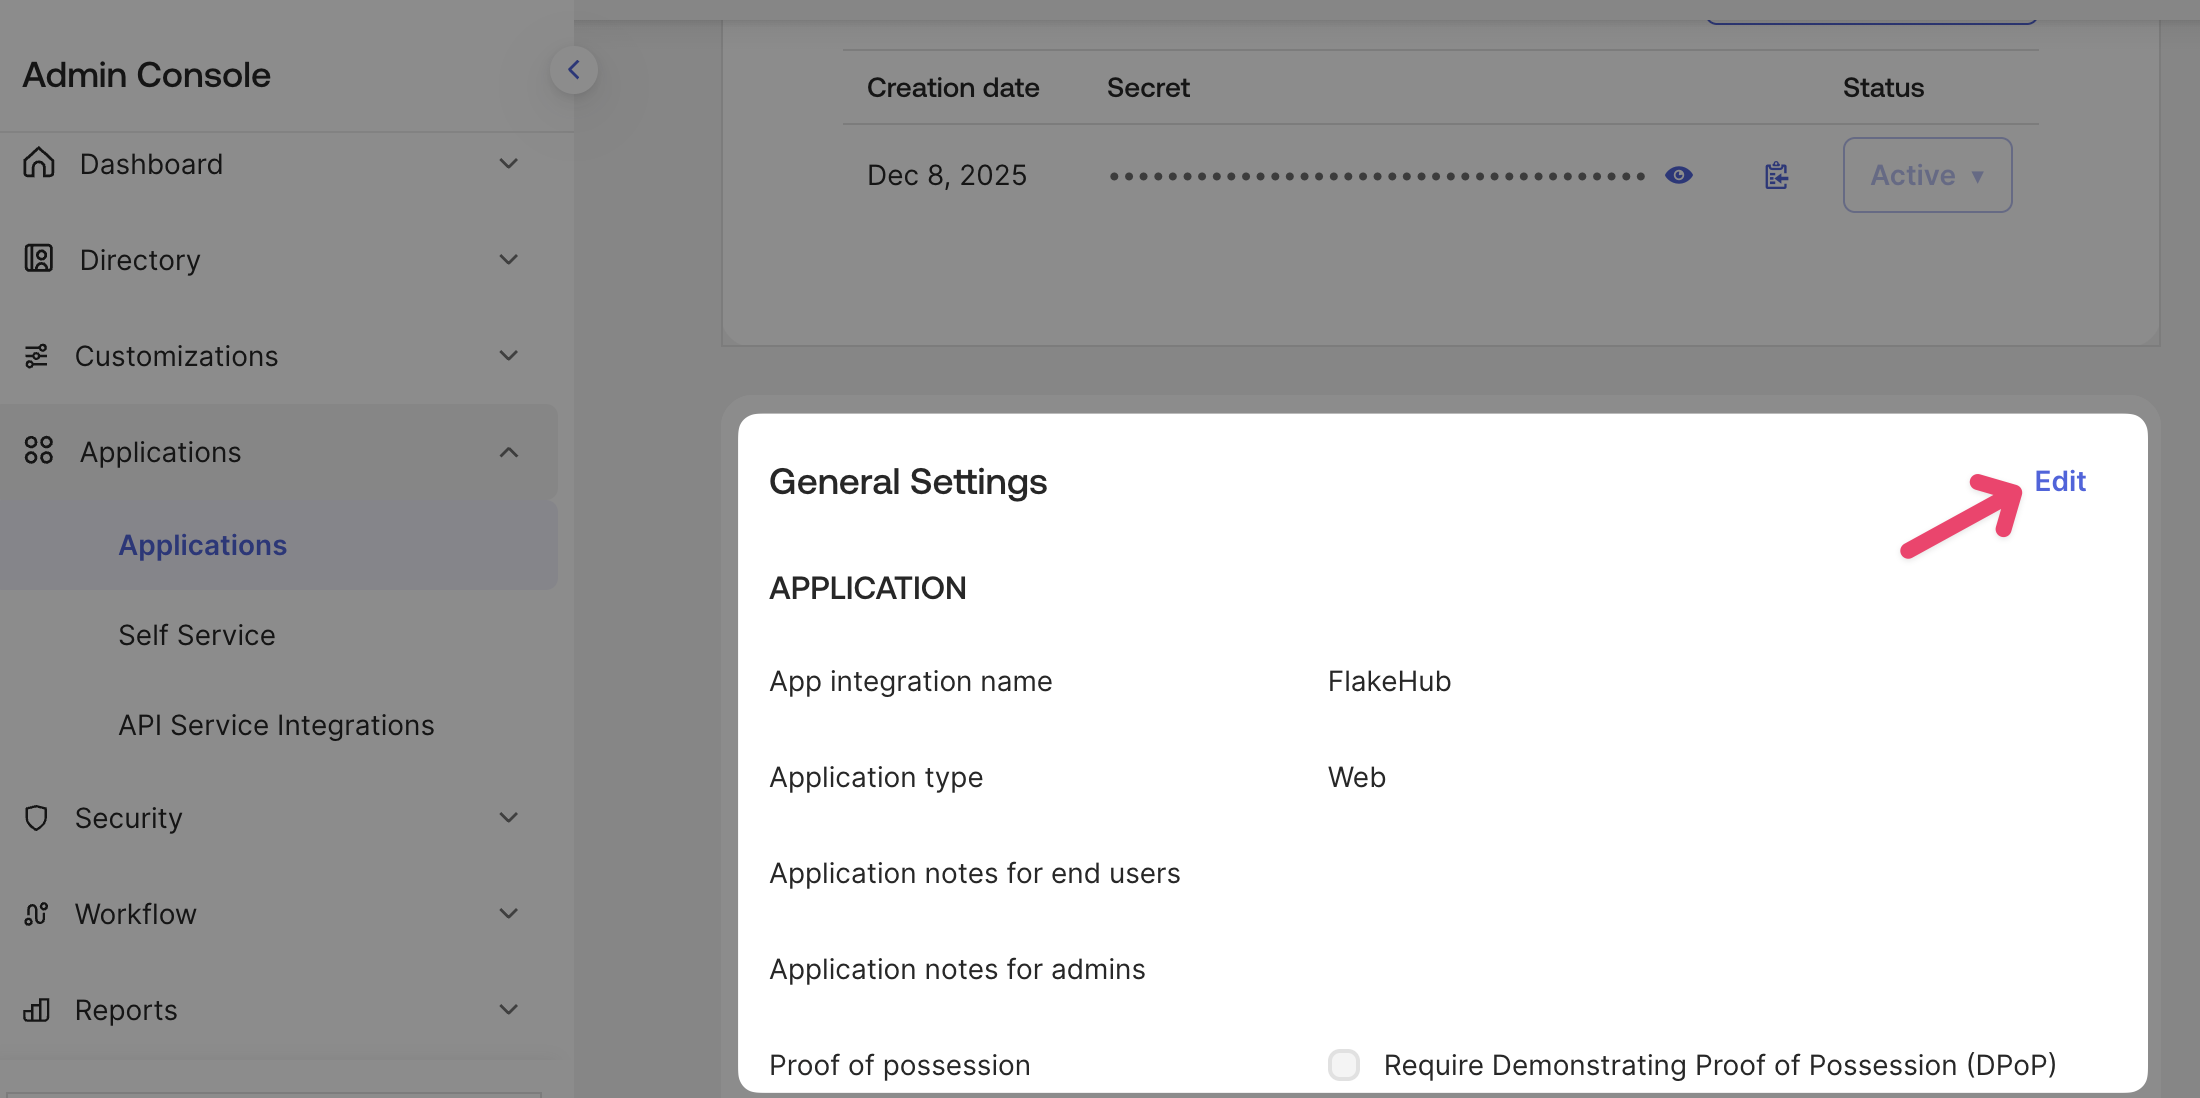
Scroll down to General Settings and click Edit
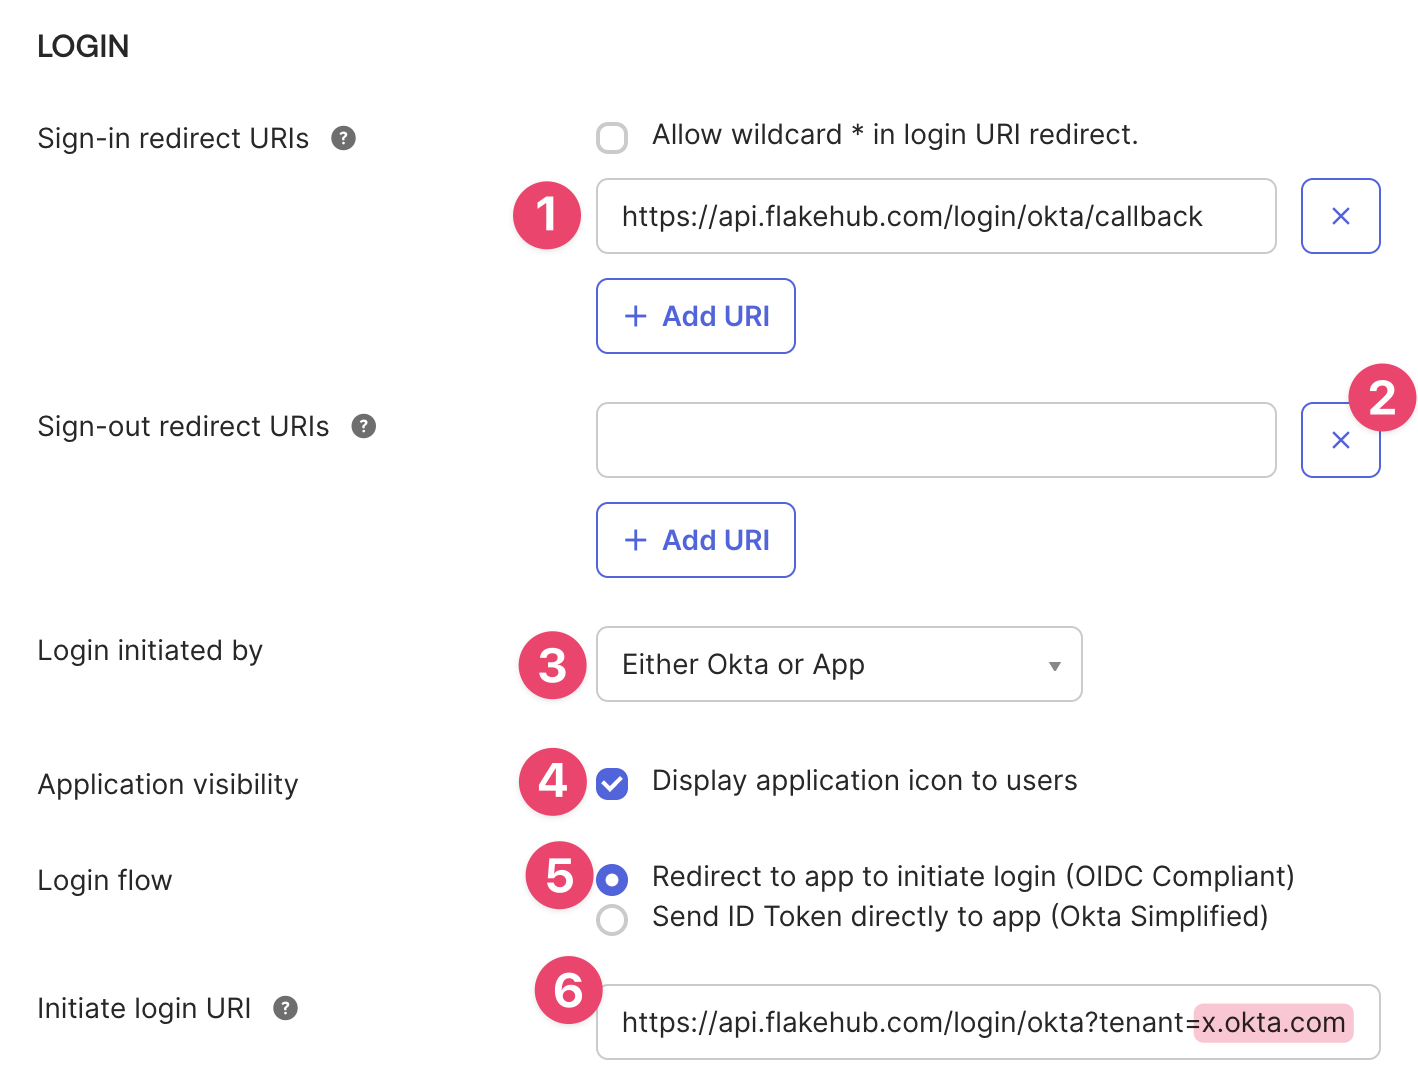
Scroll down to Login
- Make sure the Sign-in redirect URI is .
- Make sure there are no Sign-out redirect URIs.
- For Login initiated by select Either Okta or App
- For Application visibility tick Display application icon to users
- For Login flow select Redirect to app to initiate login (OIDC Compliant)
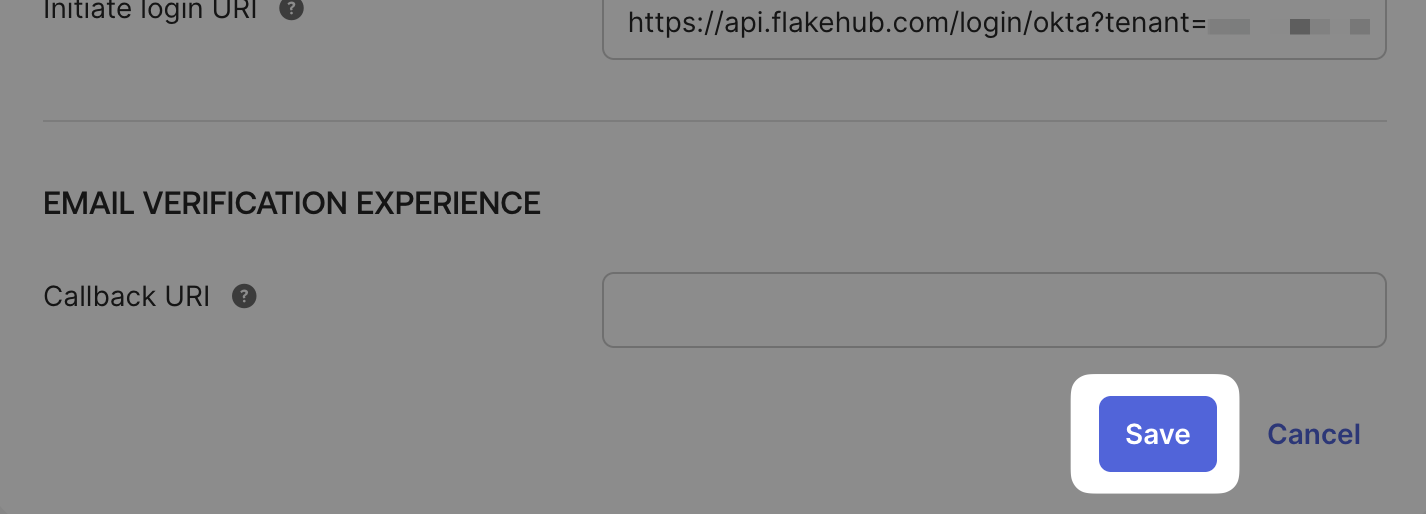
- For Initiate login URI enter where
YOURDOMAIN.okta.commatches the domain you visit for accessing Okta.
Save
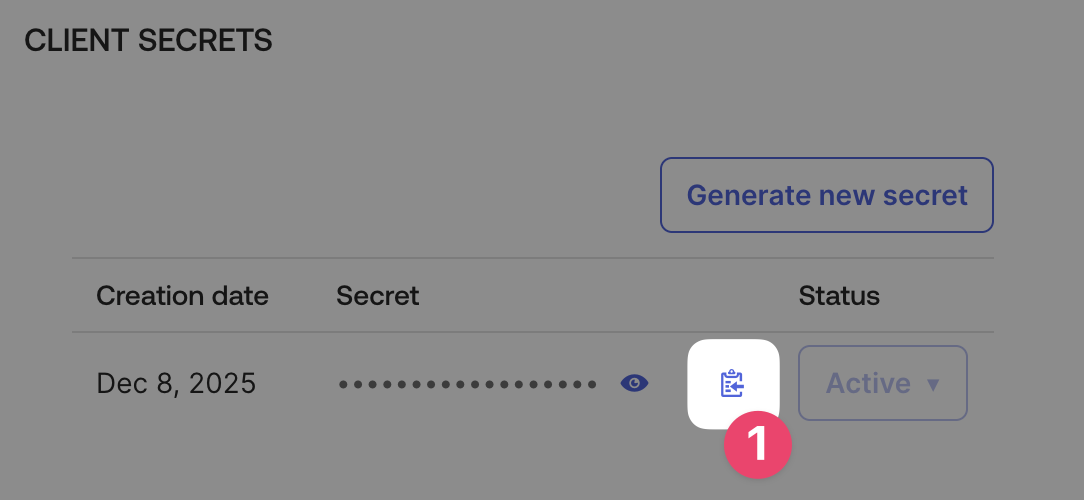
Provide Determinate Systems with Okta client information
The applications’ “Client Secret” is security sensitive. Only send this to FlakeHub support using an encrypted secret sharing tool, like 1Password. If you don’t have a tool like this, FlakeHub support can help provide one.
Do not send the client secret over email.
First, you need to send three bits of information to your FlakeHub onboarding representative from Determinate Systems.
-
Your Okta Tenant domain. For example,
YOURDOMAIN.okta.com. -
The configured applications’ Client ID.
-
The configured application’s Client Secret.
We will get back to you as soon as possible; you can move on to the next steps once we do, but not before then.
Log in with Okta
Now you need to do two things:
- Log out of FlakeHub.
- Log back in to FlakeHub from your Okta dashboard. This creates a new FlakeHub user for your Okta identity.
Log in with GitHub
Now two more login/logout steps:
- Log out of FlakeHub.
- Log back in to FlakeHub using GitHub this time.
You should now have two different FlakeHub users, one for Okta and one for GitHub.
Navigate to the member settings tab for your org at a URL of this form (substituting :org for your FlakeHub org):
https://flakehub.com/:org/settings?editview=members
In that interface, under Organization members, grant the Okta user account Admin privileges by clicking the Promote button for the user and confirming the promotion in the modal that pops up.
Manage your organization
At this point, you and your organization are all ready to go! You can log in via Okta and administer your FlakeHub org as you wish.
You can also return to the organization setup guide where you left off by setting up a paid plan with FlakeHub.